
Guide on How to Fit Yourself on a Mountain Bike Perfectly
How to fit on mountain bikes is a major concern among mountain bike riders. This is because it determines their comfort while riding, their safety as well as general performance of their bikes.
There are certain measures that can be taken by both inexperienced and veteran mountain bike riders to ensure that they perfectly fit on their bikes. The measures may involve replacing specific parts or making certain adjustments on the machines.
Please note that as an Amazon Affiliate we may earn commission from qualified purchases — thanks for your support!
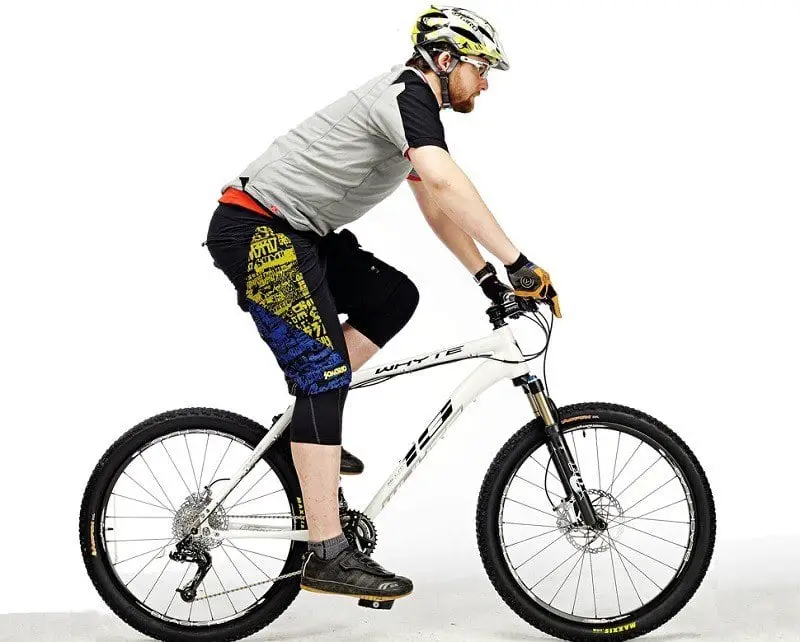
How to Fit Yourself on a Mountain Bike
Riders who wish to fit on their mountain bikes essentially have to make adjustments on one or more of the following;
- Size of the frame
- Position of the seat
- Position of handle bars
- Shock preloads
i. Size of the Frame
The frame size is a very important element that determines whether or not a bike rider will fit on a mountain bike. Even though it’s possible to adjust handle bars, pedals and seats, the adjustments have very little impact, especially if the frame size is extremely small or big. Check this for more details: Measuring Yourself and the Bike
The frame size consists of two main components; stand-over height and distance between the seat and handle bars.
ii. Stand-Over Height
This is the space that exists between a rider’s crotch and the top tube when he/she stands over a mountain bike. According to experts, 2-4 inches is a perfect stand-over height for cross-country mountain bikes. On the other hand, the recommended stand-over height for free-ride and downhill mountain bikes is 6-8 inches.
iii. Distance Between the Seat and Handle Bars
The above is usually determined by the angle and length of the frame’s top-tube. Adjustments should be made depending on the nature of riding and comfort desired.
iv. Change the Seat’s Position
A mountain bike’s seat is usually attached to the main body with one or two bolts. Its position can be adjusted by first loosening the bolts.
The seat position essentially consists of three main elements; seat height, position of the fore/aft and tilt.
v. Seat Height
The perfect seat height can be determined by pedaling backwards until one of the legs is positioned downwards. The knee should be bent at an angle of between 20-25 degrees simultaneously.
vi. Tilt
Tilt usually determines how level the seat will be. It should be varied depending on riding preferences and comfort desired.
vii. Position of the Fore/Aft Saddle
Fore/aft saddle-position is essentially how far backward or forward a mountain bike’s seat is. Generally, the bone that juts out of a rider’s knee cap should be aligned to the axle’s centre (when the pedal is in a 3 o’clock position).
viii. Position of the handle bars
Another effective way of fitting on a mountain bike is by adjusting the position of handle bars. According to experts, they should be approximately 5 inches wider than a prospective rider’s shoulders.
Narrow handle bars are suitable when climbing steep terrains or making quick turns, whereas wide handle bars are appropriate for downhill riding (since they give a rider more leverage).
ix. Height of handle bars
The handle bars should be varied depending on riding preferences and the level of comfort desired. Generally, they should be at the same level as the bike’s seat. When the handlebars are adjusted upwards, they provide enhanced stability when riding downhill. When adjusted downwards, they provided enhanced climbing power.
Adjustments to the handlebars’ height can be made by adding or getting rid of spacers that are usually found below or above the stem. In bikes that are fitted with threaded headsets, the above can be changed by first loosening the bolts, moving the handlebars to the desired position and thereafter tightening the bolts.
x. Moving the Handle Bars
Moving the handlebars backward or forward can be achieved by either changing the stems or rotating the handlebars.
xi. Adjust the Shock Preloads
It’s very important for a prospective mountain bike rider to check both the rear and front shock preloads with an intention of adjusting them accordingly. This can be done by attaching two zip ties to extreme ends of the stanchion tubes, sitting on the bike in a riding position and then checking to determine how much the zip ties have moved.
Ideally, the movement should be approximately 25% and 40% for cross-country and free-ride or downhill mountain bikes respectively. The former are usually fitted with coil shocks while the latter are fitted with air shocks. Coil shocks can be adjusted by turning the spring collars or screw knobs.
Final Words
Ideally, a mountain bike rider should only embark on his/her riding expedition after making necessary adjustments on the mountain bike. After riding for several hours, the rider will be in a position to determine how comfortable he/she is and how efficiently the machine performs.
Typically, a mountain bike rider may wish to make additional adjustments depending on the level of satisfaction desired. However, it’s important to avoid making more than one adjustment simultaneously because the rider may have difficulty in determining how each adjustment has contributed to the bike’s overall performance.
